As well as NFS and various block storage solutions for Primary Storage, CloudStack has supported Ceph with KVM for a number of years now. Thanks to some great Ceph users in the community lots of previously missing CloudStack storage features have been implemented for Ceph (and lots of bugs squashed), making it the perfect choice for CloudStack if you are looking for easy scaling of storage and decent performance.
In this and my next article, I am going to cover all steps needed to actually install a Ceph cluster from scratch, and subsequently add it to CloudStack. In this article I will cover installation and basic configuration of a standalone Ceph cluster, whilst in part 2 I will go into creating a pool for a CloudStack installation, adding Ceph to CloudStack as an additional Primary Storage and creating Compute and Disk offerings for Ceph. In part 3, I will also try to explain some of the differences between Ceph and NFS, both from architectural / integration point of view, as well as when it makes sense (or doesn’t) to use it as the Primary Storage solution.
It is worth mentioning that the Ceph cluster we build in this first article can be consumed by any RBD client (not just CloudStack). Although in part 2 we move onto integrating your new Ceph cluster into CloudStack, this article is about creating a standalone Ceph cluster – so you are free to experiment with Ceph.
Firstly, I would like to share some high-level recommendations from very experienced community members, who have been using Ceph with CloudStack for a number of years:
- Make sure that your production cluster is at least 10 nodes so as to minimize any impact on performance during data rebalancing (in case of disk or whole node failure). Having to rebalance 10% of data has a much smaller impact (and duration) than having to rebalance 33% of data; another reason is improved performance as data is distributed across more drives and thus read / write performance is better
- Use 10GB networking or faster – a separate network for client and replication traffic is needed for optimal performance
- Don’t rely on cache tiering, unless you have a very specific IO pattern / use case. Moving data in and out of cache tier can quickly create a bottleneck and do more harm than good
- If running an older version of Ceph cluster (eg. FileStore based OSD), you will probably place your journals on SSDs. If so, make sure that you properly benchmark SSD for the synchronous IO write performance (Ceph writes to journal devices with O_DIRECT and D_SYNC flags). Don’t try to put too many journals on single SSD; consumer grade SSDs are unacceptable, since their synchronous write performance is usually extremely bad and they have proven to be exceptionally unreliable when used in a Ceph cluster as journal device
Before we continue, let me state that this first article is NOT meant to be a comprehensive guide on Ceph history, theory, installation or optimization, but merely a simple step-by-step guide for a basic installation, just to get us going. Still, in order to be able to better follow the article, it’s good to define some basics around Ceph architecture.
Ceph has a couple of different components and daemons, which serves different purposes, so let’s mention some of these (relevant for our setup):
- OSD (Object Storage Daemon) – usually maps to a single drive (HDD, SDD, NVME) and it’s the one containing user data. As can be concluded from it’s name, there is a Linux process for each OSD running in a node. A node hosting only OSDs can be considered as a Storage or OSD node in Ceph’s terminology.
- MON (Monitor daemon) – holds the cluster map(s), which provides to Ceph Clients and Ceph OSD Daemons with the knowledge of the cluster topology. To clarify this further, in the heart of Ceph is the CRUSH algorithm, which makes sure that OSDs and clients can calculate the location of specific chunk of data in the cluster (and connect to specific OSDs for read/write of data), without a need to read it’s position from somewhere (as opposite to a regular file systems which have pointers to the actual data location on a partition).
A couple of other things are worth mentioning:
- For cluster redundancy, it’s required to have multiple Ceph MONs installed, always aiming for an odd number to avoid a chance of split-brain scenario. For smaller clusters, these could be placed on VMs or even collocated with other Ceph roles (i.e. OSD nodes), though busier clusters will need a dedicated, powerful servers/VMs. In contrast to OSDs, there can be only one MON instance per server/VM.
- For improved performance, you might want to place MON’s database (LevelDB) on dedicated SSDs (versus the defaults of being placed on OS partition).
- There are two ways that OSDs can manage the data they store. Starting with the Luminous 12.2.z release, the new default (and recommended) backend is BlueStore. Prior to Luminous, the default (and only option) was FileStore. With FileStore, data is first written to a Journal (which can be collocated with the OSD on same device or it can be a completely separate partition on a faster, dedicated device) and then later committed to OSD. With BlueStore, there is no true Journal per se, but a RocksDB key/value database (for managing OSD’s internal metadata). FileStore OSD will use XFS on top of it’s partition, while BlueStore write data directly to raw device, without a need for a file system. With it’s new architecture, BlueStore brings big speed improvement over FileStore.
- When building and operating a cluster, you will probably want to have a dedicated server/VM used as the deployment or admin node. This node will host your deployment tools (be it a basic ceph-deploy tool or a full blown ansible playbook), as well as cluster definition and configuration files, which can be changed on central place (this node) and then pushed to cluster nodes as required.
Armed with above knowledge (and against all recommendations given previously) we are going to deploy a very minimalistic installation of Ceph cluster on top of 3 servers (VMs), with 1 volume per node being dedicated for an OSD daemon, and Ceph MONs collocated with the Operating System on the system volume. The reason for choosing such a minimalistic setup is the ability to quickly build a test cluster on top of 3 VMs (which most people will do when building their very first Ceph cluster) and to keep configuration as short as possible. Remember, we just want to be able to consume Ceph from CloudStack, and currently don’t care about performance or uptime / redundancy (beside some basic things, which we will cover explicitly).
Our setup will be as following:
- We will already have a working CloudStack 4.11.2 installation (i.e. we expect you to have a working CloudStack installation)
- We will add Ceph storage as an additional Primary Storage to CloudStack and create offerings for it
- CloudStack Management Server will be used as Ceph admin (deployment) node
- Management Server and KVM nodes details:
- CloudStack Management Server: IP 10.2.2.118
- KVM host1: IP 10.2.3.135, hostname “kvm1”
- KVM host2: IP 10.2.2.208, hostname “kvm2”
- Ceph nodes details (dedicated nodes):
- 2 CPU, 4GB RAM, OS volume 20GB, DATA volume 100GB
- Single NIC per node, attached to the CloudStack Management Network – i.e. there is no dedicated network for Primary Storage traffic between our KVM hosts and the Ceph nodes
- Node1: IP 10.2.2.119, hostname “ceph1”
- Node2: IP 10.2.2.116, hostname “ceph2”
- Node3: IP 10.2.3.159, hostname “ceph3”
- Single OSD (100GB) running on each node
- MON instance running on each node
- Ceph Mimic (13.latest) release
- All nodes will be running latest CentOS 7 release, with default QEMU and Libvirt versions on KVM nodes
As stated above Ceph admin (deployment) node will be on CloudStack Management Server, but as you can guess, you can use a dedicated VM/Server for this purpose as well.
Before proceeding with the actual work, let’s define the high-level steps required to deploy a working Ceph cluster
- Building the Ceph cluster:
- Setting time synchronization, host name resolution and password-less login
- Setting up firewall and SELinux
- Creating a cluster definition file and auth keys on the deployment node
- Installation of binaries on cluster nodes
- Provisioning of MON daemons
- Copying over the ceph.conf and admin keys to be able to manage the cluster
- Provisioning of Ceph manager daemons (Ceph Dashboard)
- Provisioning of OSD daemons
- Basic configuration
We will cover configuration of KVM nodes in second article.
Let’s start!
On all nodes…
It is critical that the time is properly synchronized across all nodes. If you are running on hypervisor, your VMs might already be synced with the host, otherwise do it the old-fashioned way:
ntpdate -s time.nist.gov
yum install ntp
systemctl enable ntpd
systemctl start ntpd
Make sure each node can resolve the name of each other node – if not using DNS, make sure to populate /etc/hosts file properly across all 4 nodes (including admin node):
cat << EOM >> /etc/hosts
10.2.2.219 ceph1
10.2.2.116 ceph2
10.2.3.159 ceph3
EOM
On CEPH admin node…
We start by installing ceph-deploy, a tool which we will use to deploy our whole cluster later:
release=mimic
cat << EOM > /etc/yum.repos.d/ceph.repo
[ceph-noarch]
name=Ceph noarch packages
baseurl=https://download.ceph.com/rpm-$release/el7/noarch
enabled=1
gpgcheck=1
type=rpm-md
gpgkey=https://download.ceph.com/keys/release.asc
EOM

yum install ceph-deploy -y
Let’s enable password-less login for root account – generate SSH keys and seed public key into /root/.ssh/authorized_keys file on all Ceph nodes (in production environment, you might want to use a user with limited privileges with sudo escalation):
ssh-keygen -f $HOME/.ssh/id_rsa -t rsa -N ''
ssh-copy-id root@ceph1
ssh-copy-id root@ceph2
ssh-copy-id root@ceph3
On all CEPH nodes…
Before beginning, ensure that SELINUX is set to permissive mode and verify that firewall is not blocking required connections between Ceph components:
firewall-cmd --zone=public --add-service=ceph-mon --permanent
firewall-cmd --zone=public --add-service=ceph --permanent
firewall-cmd --reload
setenforce 0
Make sure that you make SELINUX changes permanent, by editing /etc/selinux.config and setting ‘SELINUX=permissive’
As for the firewall, in case you are using different distribution or don’t consume firewalld, please refer to the networking configuration reference at http://docs.ceph.com/docs/mimic/rados/configuration/network-config-ref/
On CEPH admin node…
Let’s create cluster definition locally on admin node:
mkdir CEPH-CLUSTER; cd CEPH-CLUSTER/
ceph-deploy new ceph1 ceph2 ceph3
This will trigger a ssh connection to each of above referenced Ceph nodes (to check for machine platform and IP addresses) and will then write a local cluster definition and the MON auth key in the current folder. Let’s check the files generated:
# ls -la
-rw-r--r-- ceph.conf
-rw-r--r-- ceph-deploy-ceph.log
-rw------- ceph.mon.keyring
On Centos7, if you get the “ImportError: No module named pkg_resources” error message while running ceph-deploy tool, you might need to install missing packages:
yum install python-setuptools
In case that you have multiple network interfaces on Ceph nodes, you will be required to explicitly define public network (which accepts client’s connections) – in this case edit previously created ceph.conf on the local admin node to include public network setting:
echo "public network = 10.2.0.0/16" >> ceph.conf
If you only have one NIC in each Ceph node, the above line is not required.
Still on admin node, let’s start the installation of Ceph binaries across cluster nodes (no services started yet):
ceph-deploy install ceph1 ceph2 ceph3
Command above will also output the version of Ceph binaries installed on each node – make sure that you did not get a wrong Ceph version installed due to some other repos present (we are installing Mimic 13.2.5, which is latest as of the time of writing).
Let’s create (initial) MONs on all 3 Ceph nodes:
ceph-deploy mon create-initial
In order to be able to actually manage our Ceph cluster, let’s copy over the admin key and the ceph.conf files to all Ceph nodes:
ceph-deploy admin ceph1 ceph2 ceph3
On any CEPH node…
After previous step, you should be able to issue “ceph -s” from any Ceph node, and this will return the cluster health. If you are lucky enough, your cluster will be in HEALTH_OK state, but it might happen that your MON daemons will complain on time mismatch between the nodes, as following:
[root@ceph1 ~]# ceph -w
cluster:
id:     7f2d23c2-1f2e-4c03-821c-cab3d76f84fc
health: HEALTH_WARN
clock skew detected on mon.ceph1, mon.ceph3
In this case, we should stop NTP daemon, force time update (a few times), and start NTP daemon again – and after doing this across all nodes, it would be required to restart Ceph monitors on each node, one by one (give it a few seconds between restart on different nodes) – below we are restarting all Ceph daemons – which effectively means just MONs since we deployed only MONs so far:
systemctl stop ntpd
ntpdate -s time.nist.gov; ntpdate -s time.nist.gov; ntpdate -s time.nist.gov
systemctl start ntpd
systemctl restart ceph.target
After time has been properly synchronized (with less then 0.05 seconds of time difference between the nodes), you should be able to see a cluster in HEALTH_OK state, as below:
[root@ceph1 ~]# ceph -s
cluster:
id:     7f2d23c2-1f2e-4c03-821c-cab3d76f84fc
health: HEALTH_OK
On CEPH admin node…
Now that we are up and running with all Ceph monitors, let’s deploy Ceph manager daemon (Ceph dashboard, that comes with newer releases) on all nodes since they operate in active/standby configuration (we will configure it later):
ceph-deploy mgr create ceph1 ceph2 ceph3
Finally, let’s deploy some OSDs so our cluster can actually hold some data eventually:
ceph-deploy osd create --data /dev/sdb ceph1
ceph-deploy osd create --data /dev/sdb ceph2
ceph-deploy osd create --data /dev/sdb ceph3
Note in commands above, we reference /dev/sdb as the 100GB volume that is used for OSD.
As mentioned previously, newer versions of Ceph (as in our case) will use by default BlueStore as the storage backend, with (by default) collocating block data and RocksDB key/value database (for managing its internal metadata) on the same device (/dev/sdb in our case). In more complex setups, one can choose to separate RockDB DB on faster devices, while block data will remain on slower devices – somewhat similar with the older FileStore setups, where block data would be located on HDDs/SSDs devices, while Journals would be usually placed on SSD/NVME partitions.
On any CEPH node…
After previous step is done, we should get the output similar to below – confirming that we have a 300GB of space available:
[root@ceph1 ~]# ceph -s
cluster:
id:     7f2d23c2-1f2e-4c03-821c-cab3d76f84fc
health: HEALTH_OK

services:
mon: 3 daemons, quorum ceph2,ceph1,ceph3
mgr: ceph1(active)
osd: 3 osds: 3 up, 3 in

data:
pools:   0 pools, 0 pgs
objects: 0  objects, 0 B
usage:   3.0 GiB used, 297 GiB / 300 GiB avail
pgs:
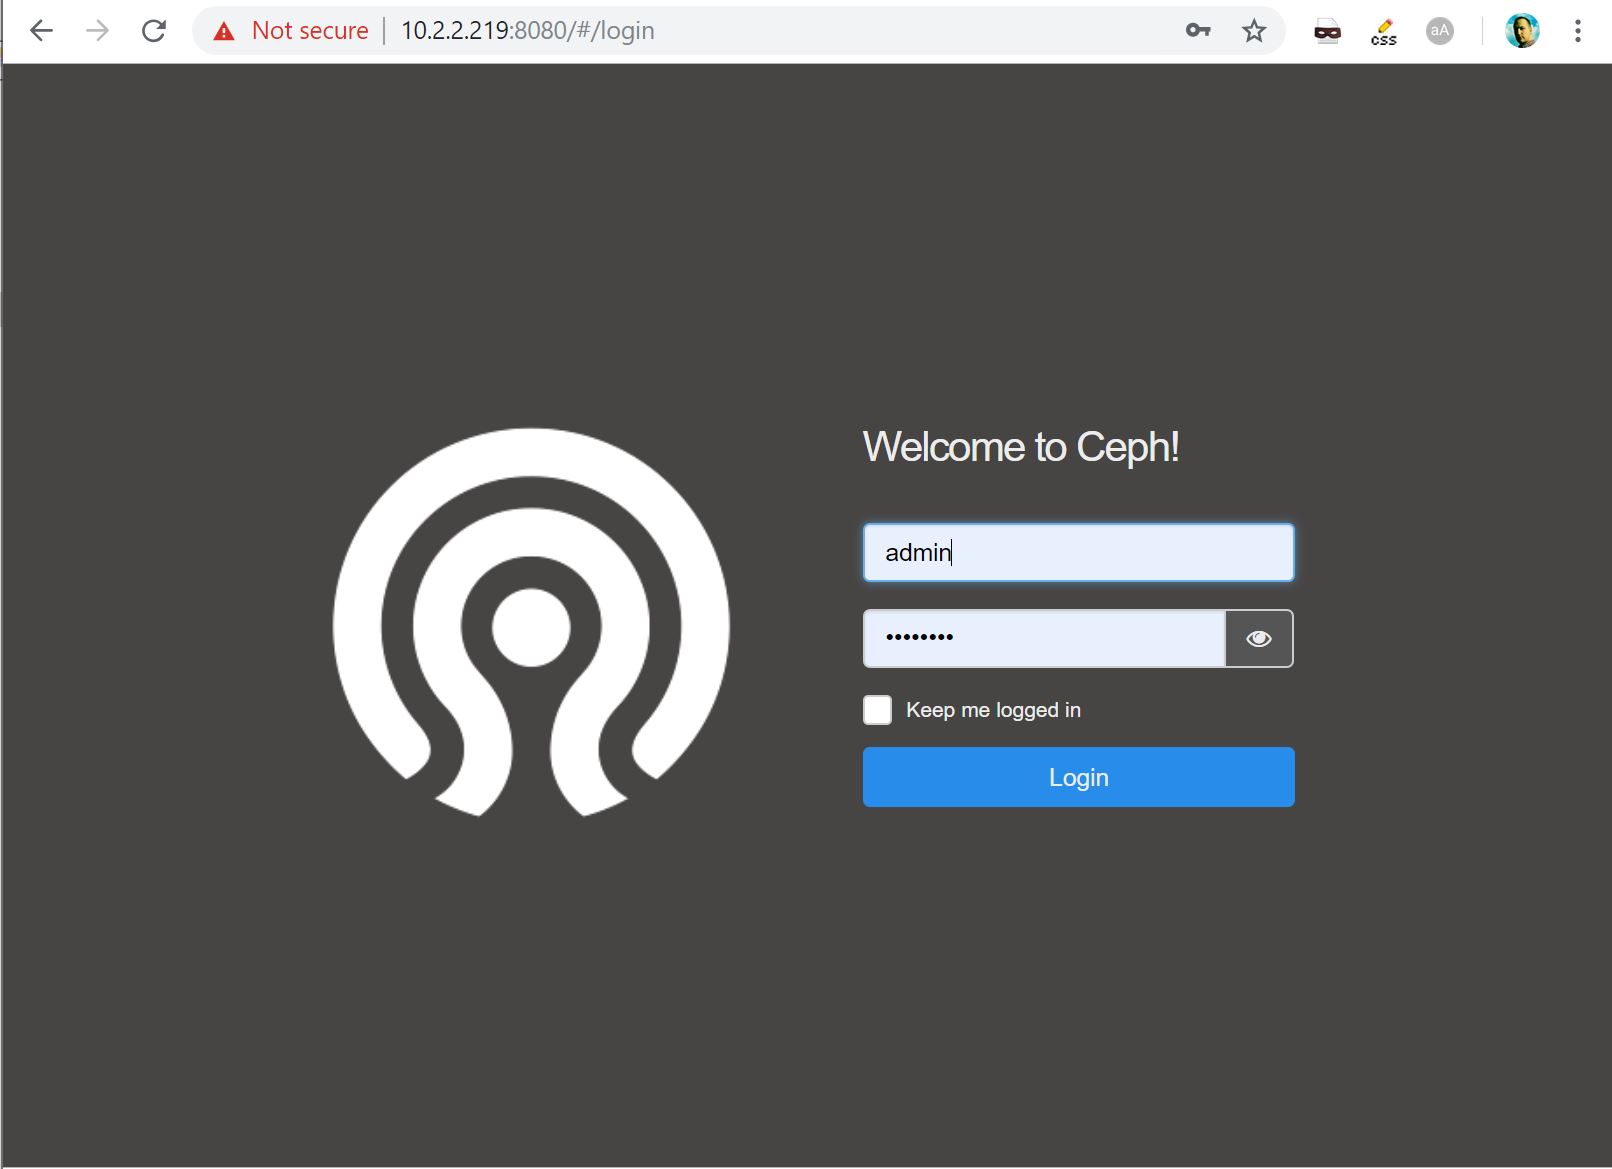
Finally, let’s enable the Dashboard manager and set the username/password for authentication (which will be encrypted and stored in monitor’s DB) to be able to access it.
In our lab, we will disable SSL connections and keep it simple – but obviously in production environment, you would want to force SSL connections and also install proper SSL certificate:
ceph config set mgr mgr/dashboard/ssl false
ceph mgr module enable dashboard
ceph dashboard set-login-credentials admin password
Let’s login to the Dashboard manager on the active node (ceph1 in our case, as can be seen in the output from “ceph -s” command above):
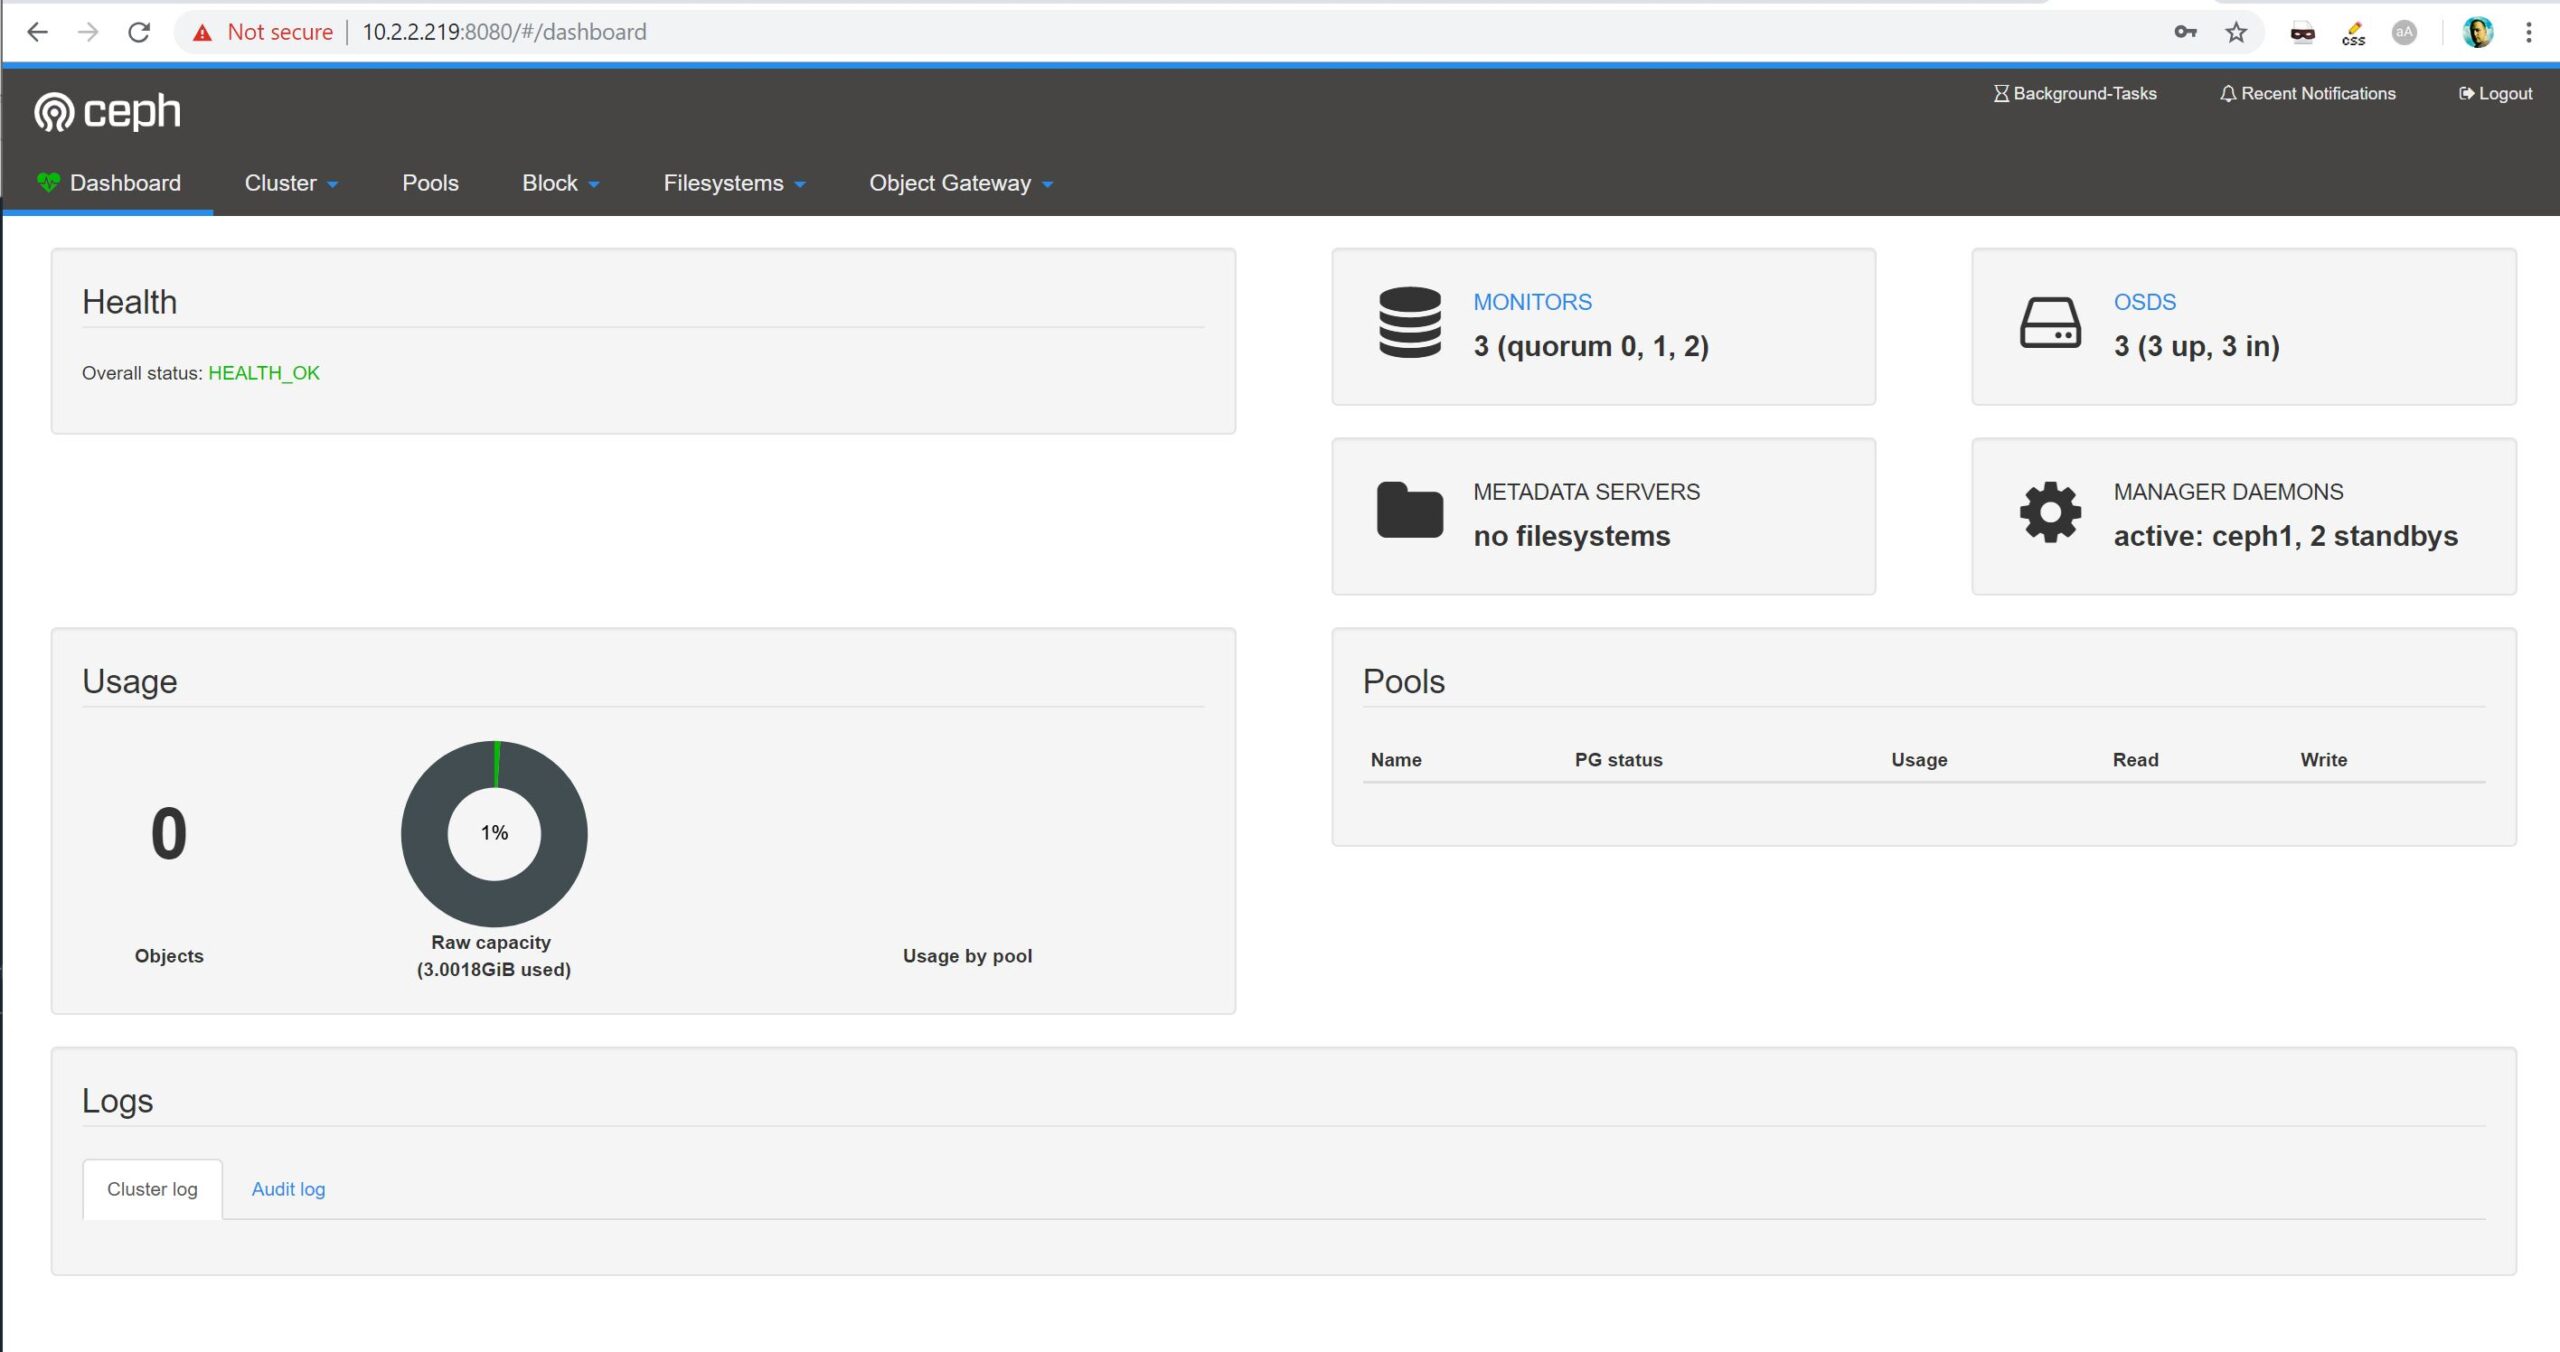
And there you go – you now have a working Ceph cluster, which concludes part 1 of this Ceph article series. In part 2 (published soon), we will continue our work by creating a dedicated RBD pool and authentication keys for our CloudStack installation, add Ceph to CloudStack, finally consuming it with dedicated Compute / Disk offerings.
It’s worth mentioning that Ceph itself does provided additional services – i.e. it supports S3 object storage (requires installation / configuration of Ceph Object Gateway) as well as POSIX-compliant file system CephFS (requires installation/configuration of Metadata Server), but for CloudStack, we only need Rados Block Device (RBD) services from Ceph.
Test Drive Apache CloudStack
Experience first-hand how Apache CloudStack can streamline cloud operations and support the creation of customizable, multi-tenant infrastructure as a service (IaaS) environments.
Andrija Panic is a Cloud Architect at ShapeBlue and a PMC member of Apache CloudStack. With almost 20 years in the IT industry and over 12 years of intimate work with CloudStack, Andrija has helped some of the largest, worldwide organizations build their clouds, migrate from commercial forks of CloudStack, and has provided consulting and support to a range of public, private, and government cloud providers across the US, EMEA, and Japan. Away from work, he enjoys spending time with his daughters, riding his bike, and tries to avoid adrenaline-filled activities.
You can learn more about Andrija and his background by reading his Meet The Team blog.
